How to use the model builder UI and JSON schema editor
Loading...
Loading...
Loading...
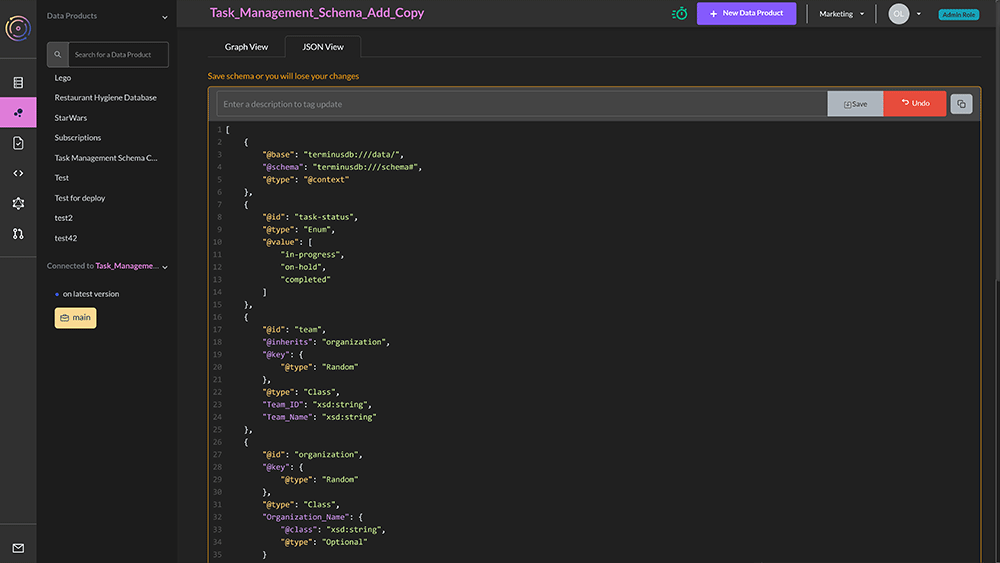
You can edit a schema directly as JSON in the TerminusCMS user interface using the JSON view
Now click on the pink bubbles on the left panel. This takes you to the schema builder page. Select JSON view from the tab and you'll see your entire schema as JSON.
If you click on the Edit button in the upper right-hand corner, you'll be able to directly edit the schema.
If you have no data in your database, it should be possible to freely edit the schema. However, if you have data, then you may not be able to make arbitrary edits. The schema editor will warn you upon submission if some restrictions are violated.
Essentially it should always be possible to weaken the schema safely through the interface. However, other changes will require schema migration which is coming soon.
The model builder UI allows you to construct classes of objects and define what data they have, and what links (or relationships) they have between them.
First, log in to TerminusCMS, choose (or create) a team, and then click on New Data Product.
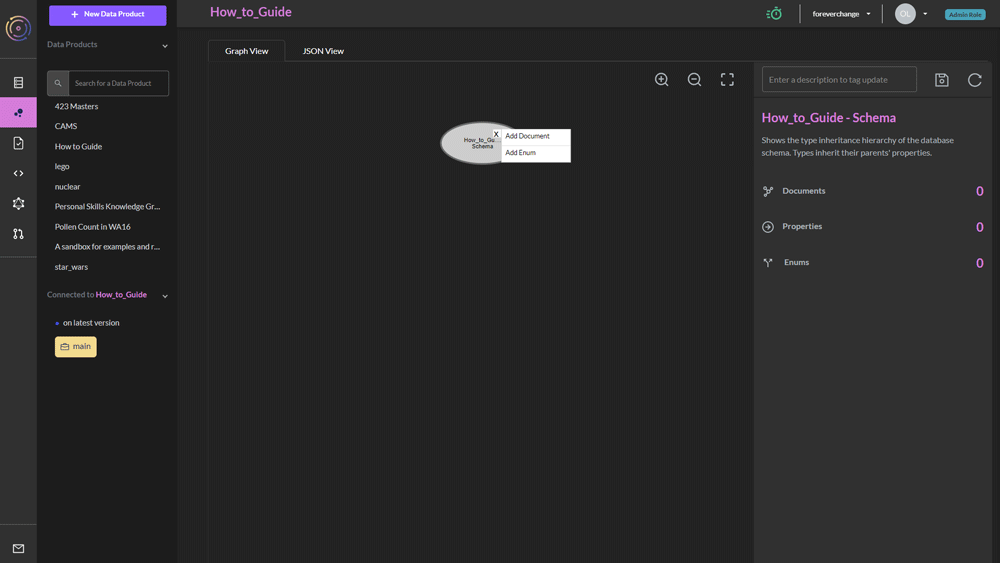
Now click on the pink bubbles on the left panel. This takes you to the schema builder page.
Hover over the gray schema bubble in the center of the graph view.
This will give you a + icon. This will allow you to add either a document class or an enum. Choose document.
The document will appear as an orange Square and on the right-hand side you will have a panel for editing the schema. You can choose a name for your new document class under the field Unique ID*.
Once you have chosen an id, you can (optionally) choose the printed name of the document under Label.
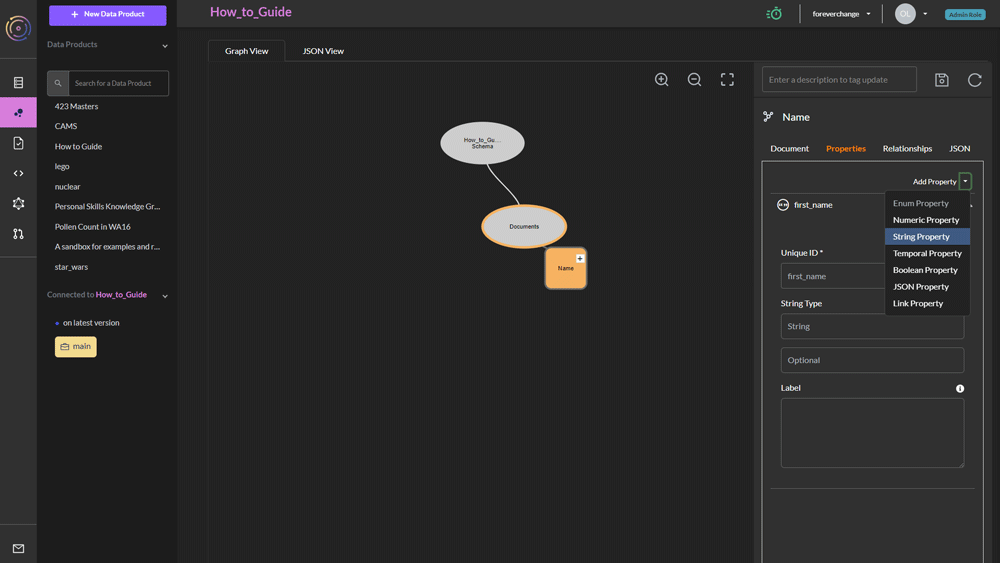
Now you can switch the properties tab, and click on Add Property. This will give you a choice of several different property types. You can choose String for instance for various string properties.
Again you will have to give it a unique id, and by default the property will be optional, but you can change this to mandatory, list or set.
When you are done, click the Disk icon above (meaning save).
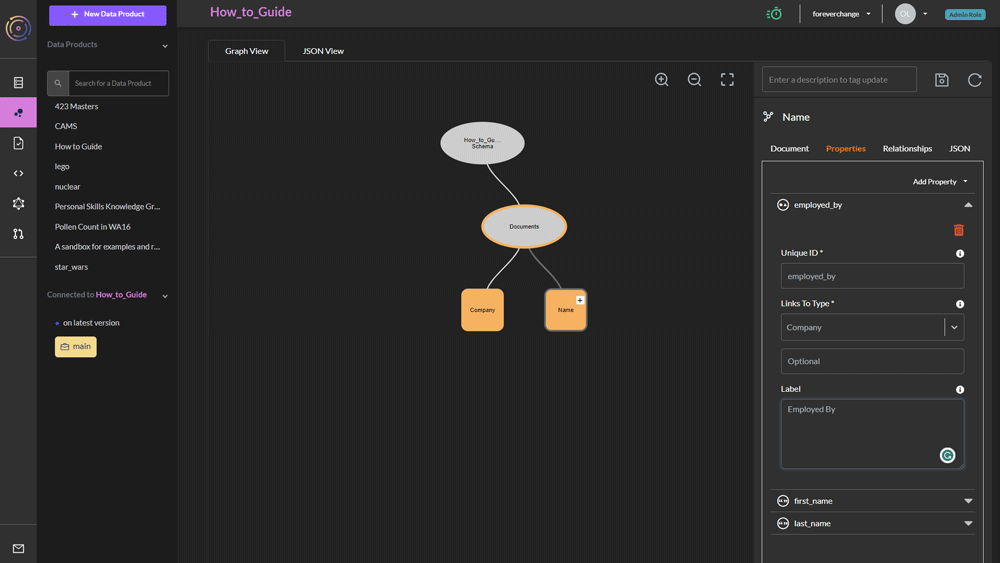
You can also add a link property by choosing Link Property under the AddProperty selector once you have saved at least one document class.
You must again specify an ID, and link to an already created document class.
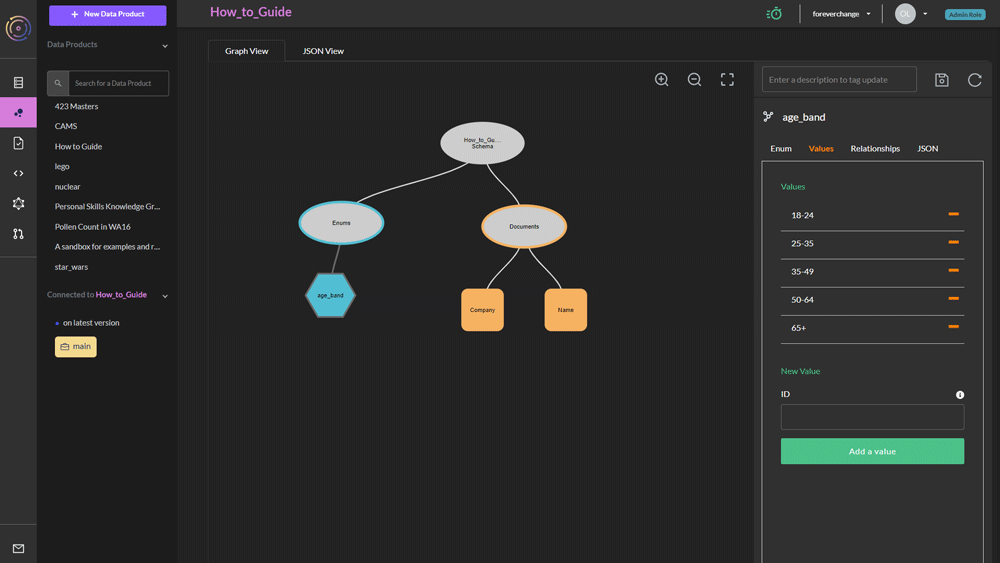
You can add an enum by clicking the + on the gray schema bubble and selecting Add Enum.
After you have chosen a name for your enum, click on the Values tab on the right, and begin entering valid values for this enum.
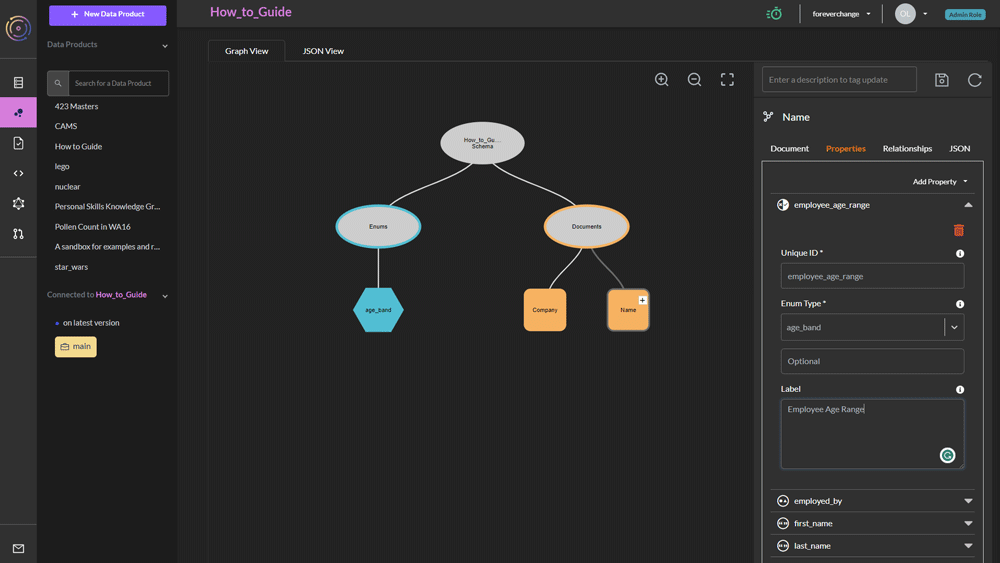
Now it is possible to link to this enum from any document class. You can do this by selecting Enum Property under the AddProperty selector.
Here are some of our blogs that can help you model schema